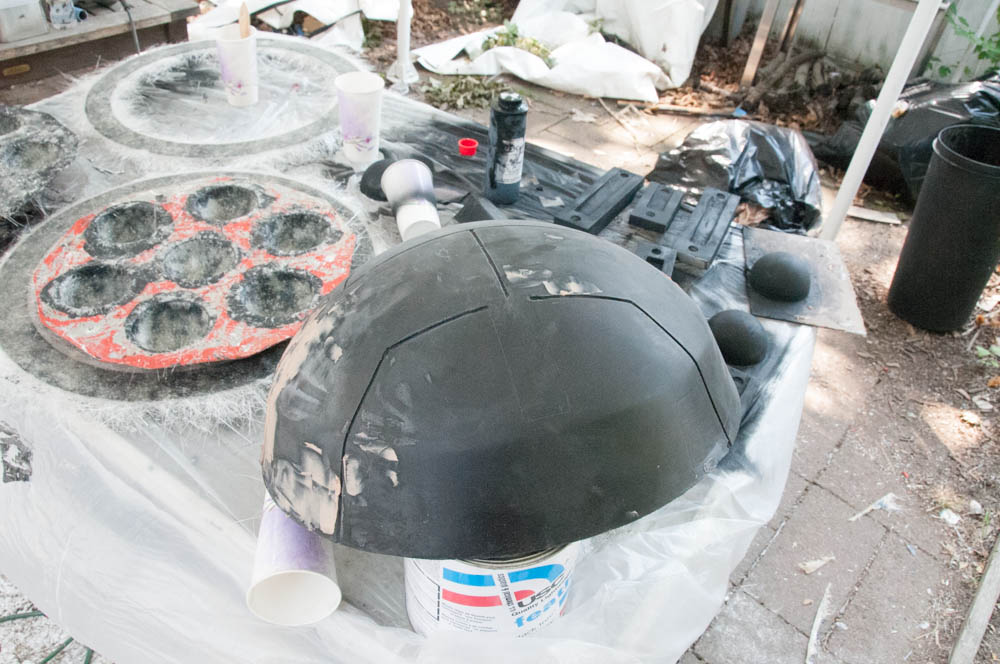
Making the Dome Mold
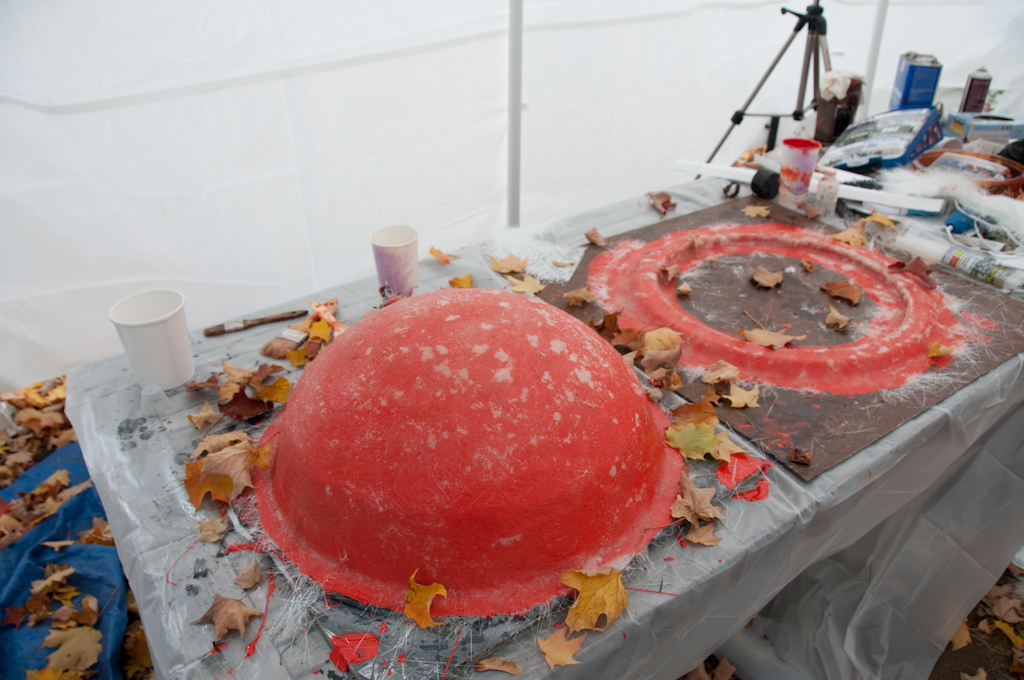
The actual mold making process is the same as for any other part of the fiberglass work: a gel coat followed by layers of epoxy and glass mat. Here is the dome and one of the neck rings getting their fiberglass. Note the white areas in the mat, those are areas where the air bubbles I will come to next crept in. Should have spent more time flattening them with the roller!
Demolding the plug
Only half the builders on Project Dalek report that they are able to successfully remove the mold without damage to the plug. Since nobody who has managed this feat has managed to find a use for a plaster plug afterwards, I was not too disappointed when my plug was one of the ones that didn't make it. The polystyrene core was just not solid enough to prevent the plaster cracking.
The plug was ruined but the mold survived. 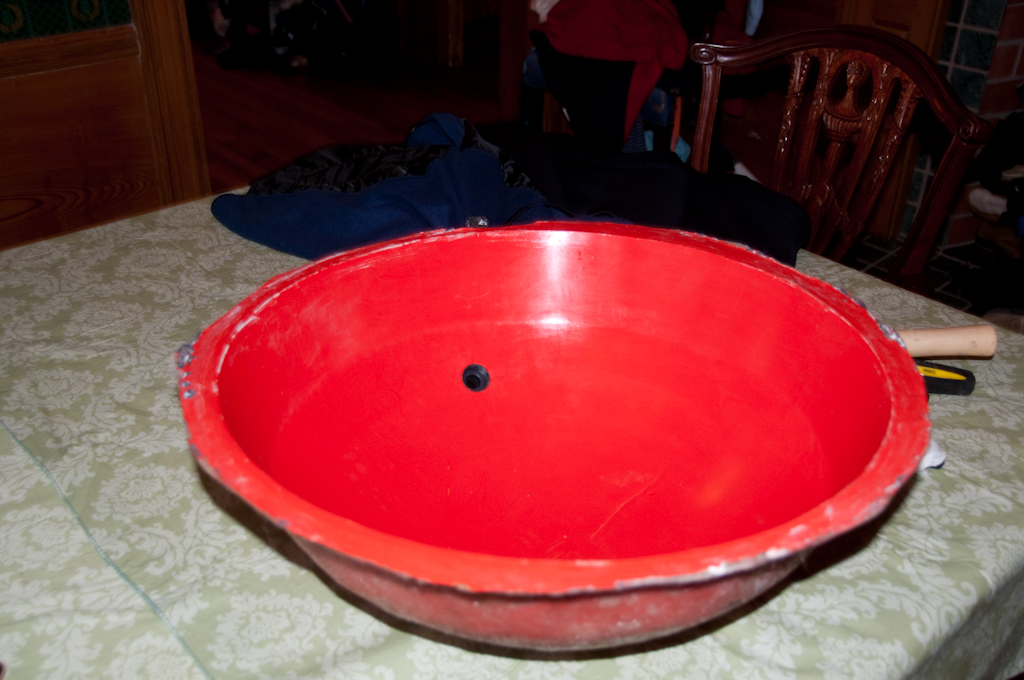
Or rather most of it did. Looking closely I found some areas where the gel coat had separated with the plug due to air gaps between the gel coat and the matting. Not my best fiberglass effort but not bad for a first try.
Fixing the Mold
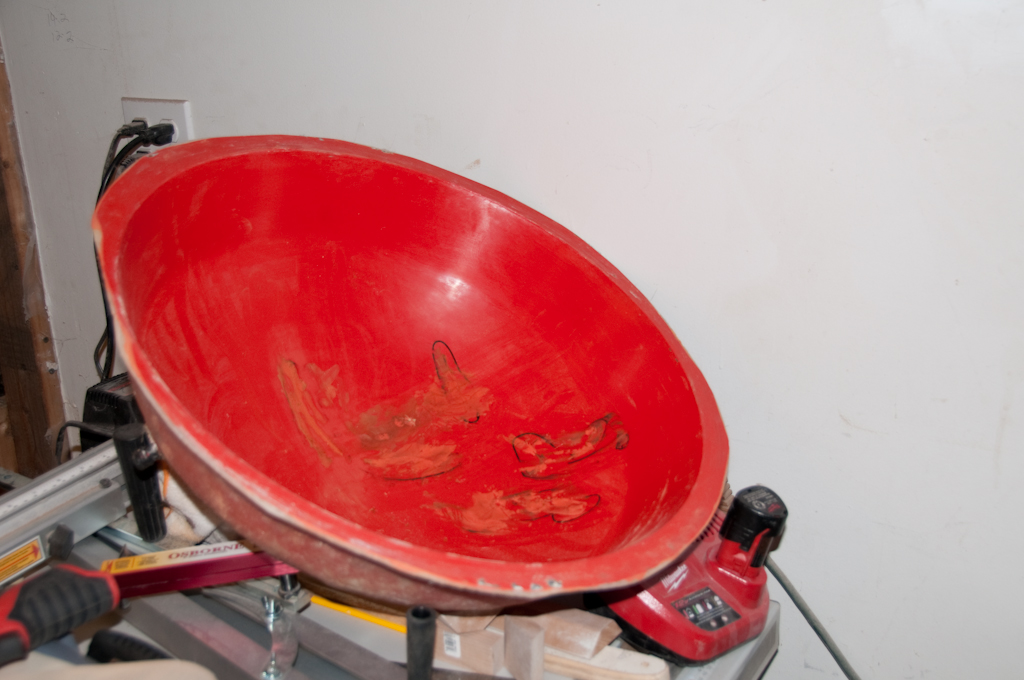
Fortunately the problems are easily cured by applying modeling clay. This would not be acceptable for a high volume run as the mold has to be patched up every time it is used. Fortunately this mold is probably only going to be used twice.
Detailing the Mold
If you are building a Shawcraft or an Imperial dalek then you are done at this point. But the New Series Dalek dome has detailing in the form of fine lines and indented areas. In theory these could be made to the plug but it is much easier to add details as positive additions to the mold than trying to carve out pieces of the plug.
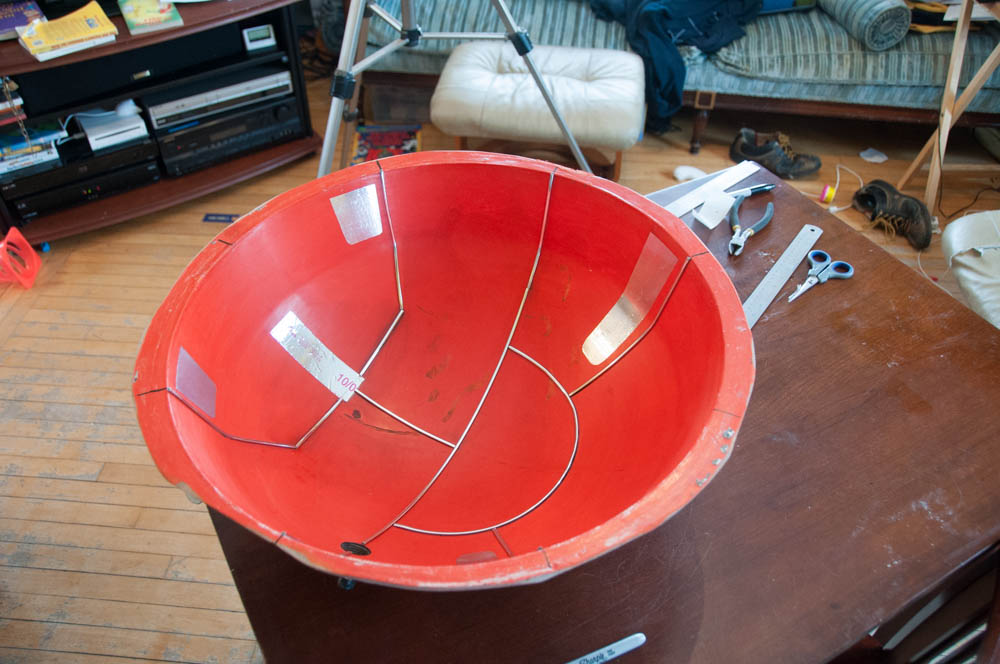
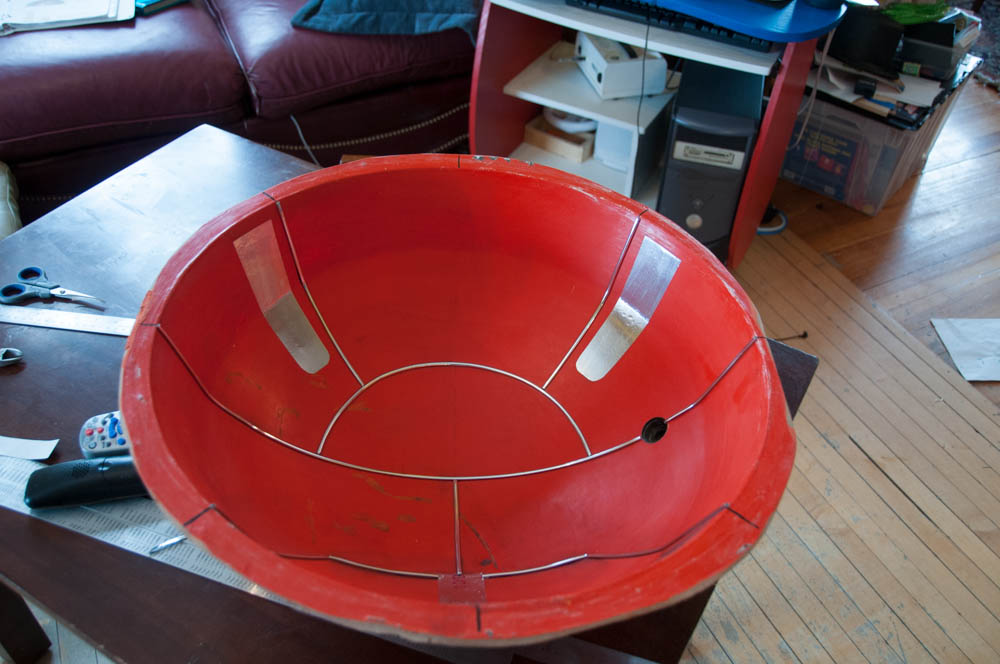
The lines are created using chrome strips sold for detailing cars.
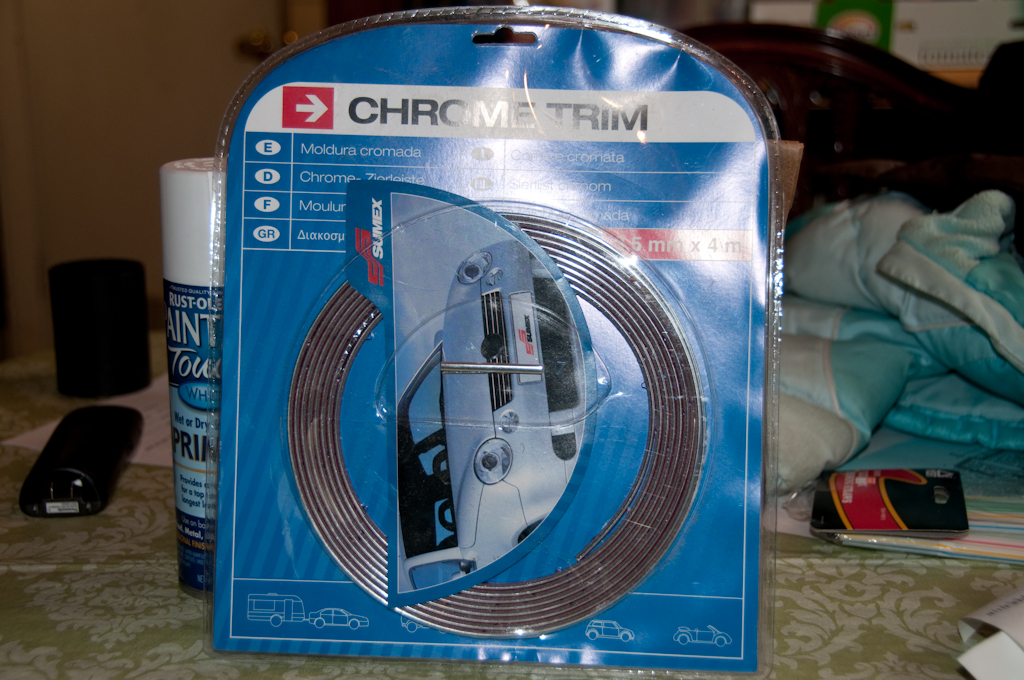
The hardest part of detailing the dome is laying out the places to put it. The dome is curved and this is impossible to do by eye and pretty difficult to do with a flexible ruler. Fortunately, a laser level line is cheap and conforms to the dome precisely.
Marking out the dome
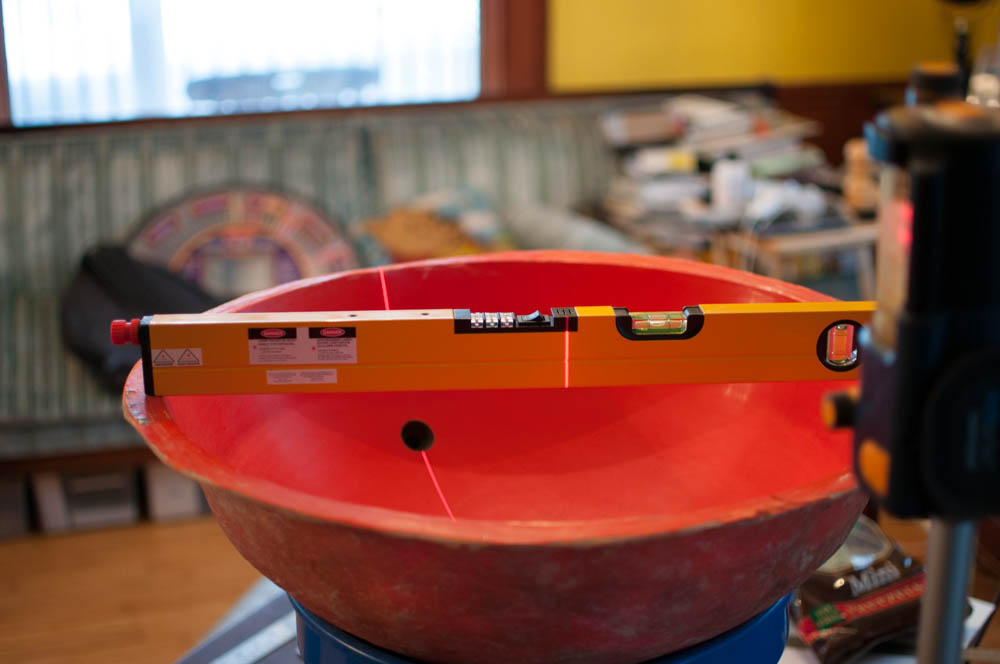
First I got the mold dead level, then I set the laser up to give me a line.
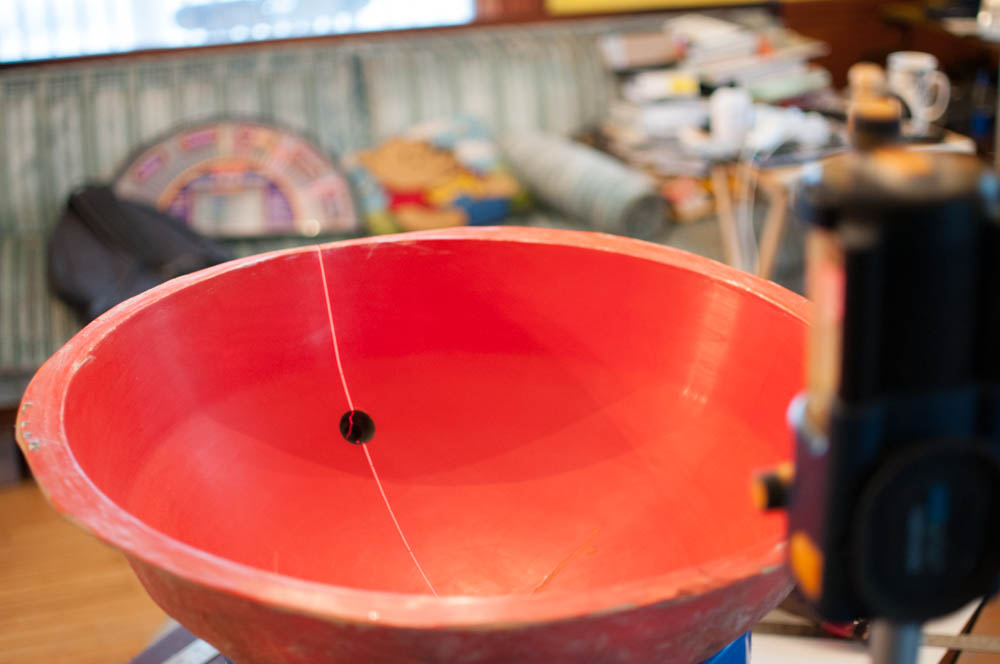
A quick check for level and I can transfer the line to the mold using a sharpie.
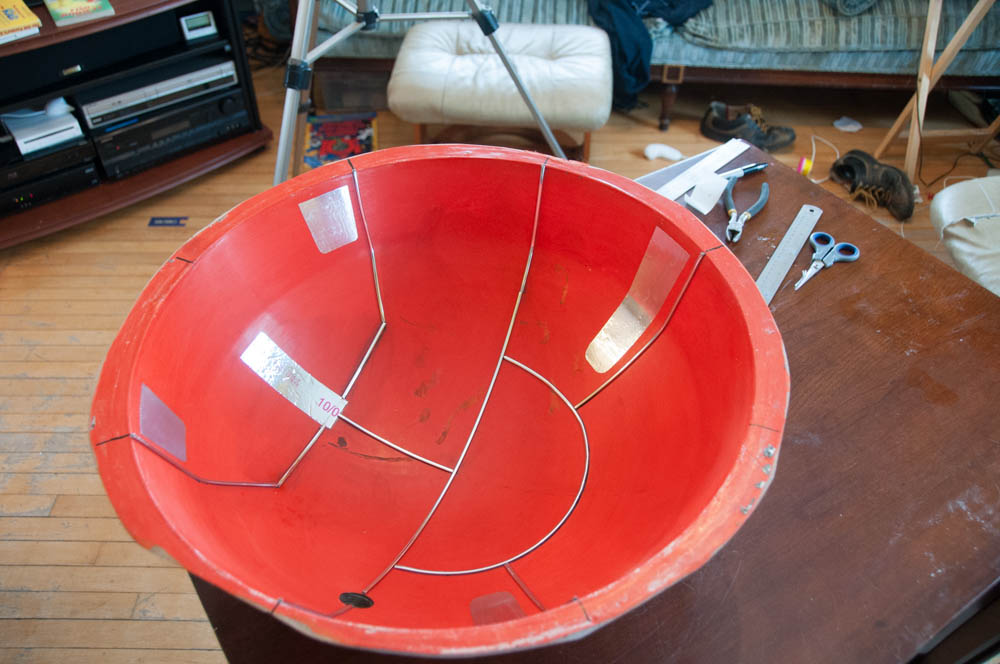
The markup complete, applying the detailing takes only a few minutes. Like the fixes to the dome, the detailing is not attached to the mold strongly enough to survive demolding but this isn't a big problem as the layout marks survive making it easy to apply fresh detailing when the mold is reused.
Applying the detailing
Making the Part
The part is made in the exact same fashion as the mold but using a black tinted gel rather than the orange tooling gelcoat used for the mold. Tinting the gel coat is not critical as the part is going to be painted but it does help hide scratches and dents.
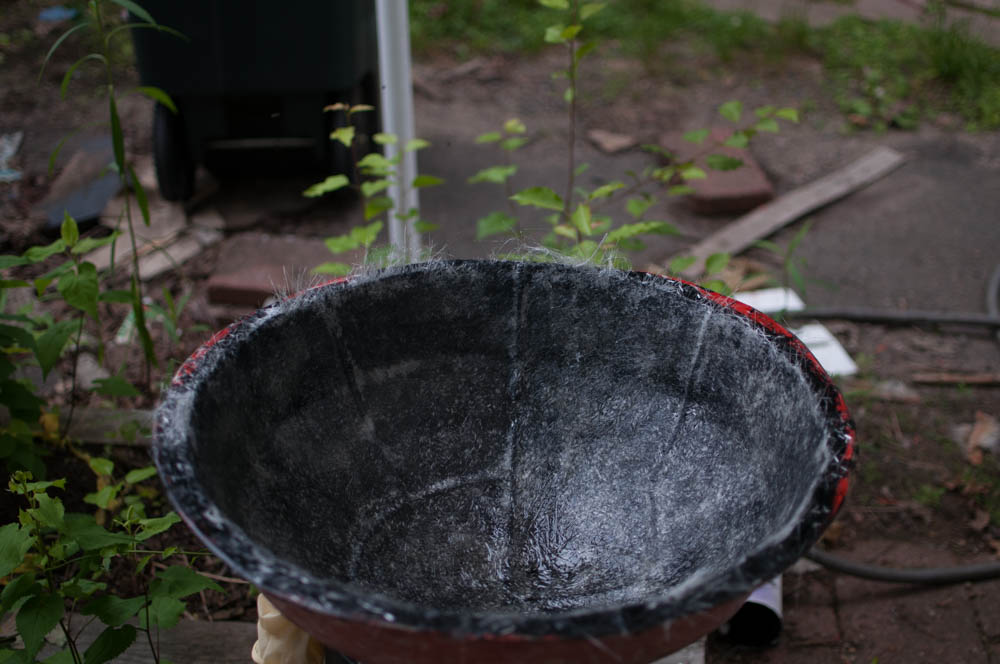
My first attempt at making the dome was a failure. A change in the weather caused me to suspend outdoor dalek building over the winter. For whatever reason, large chunks of the gel coat separated from the matting. This wasn't the only part I had problems with but after trying to fix up the dome groves and failing, I decided it was easier to try again.
Things worked out much better on the second try.
