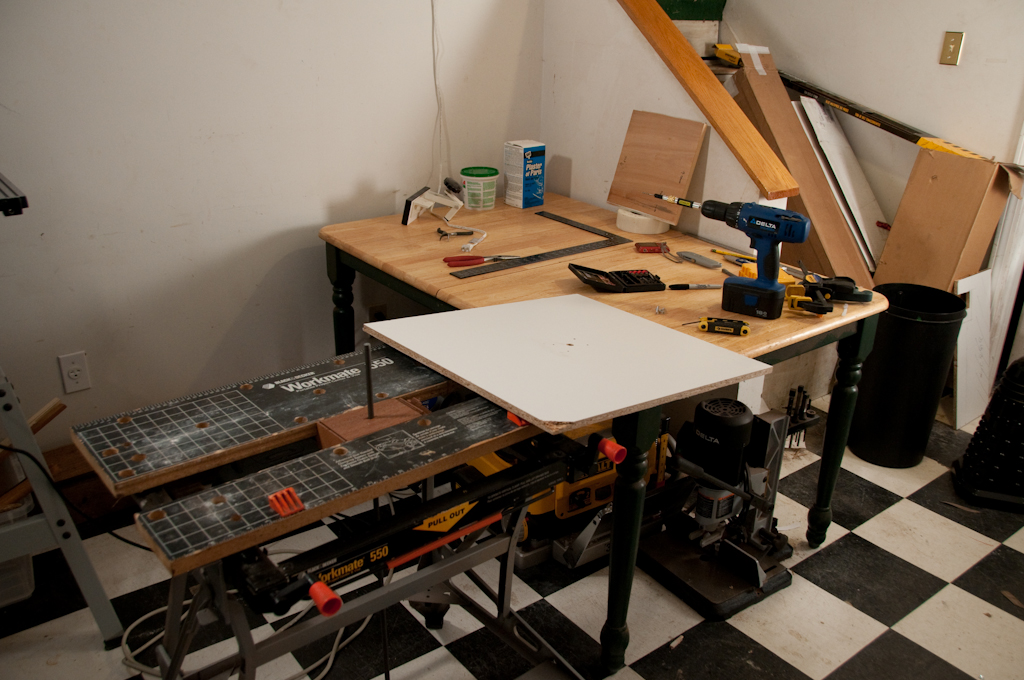
Making the Plug
Construction of the Dome plug began with a plaster form. This is one of those steps that would be a whole lot easier with access to a largeish CNC mill. The dome is usually the part people start their build with as the plaster has to be left to dry for weeks or months.
Former base
First we take a block of scrap hardwood and drill a hole using the drill press to insert the former rod. To get the necessary thickness, I have screwed several thinner scraps together. The exact placement of the hole doesn't matter much but it must be as upright as possible.
Mounting the former rod
Next we mount the block at the center of the board we are going to use as a base. The base has a hole drilled through the center so that I can knock out the rod from underneath when I am done with it.
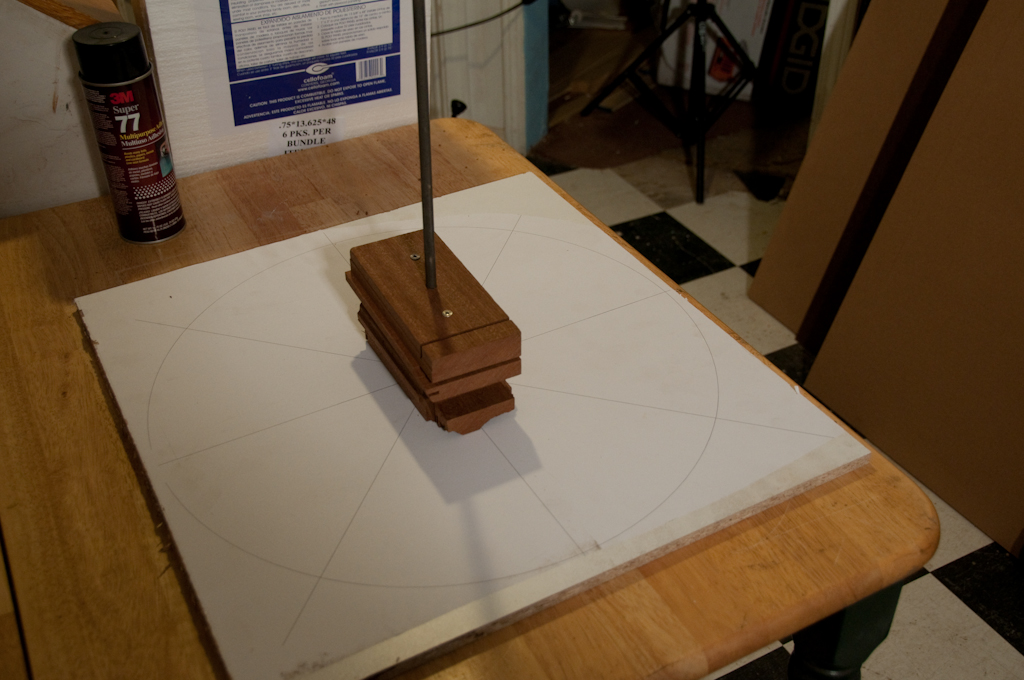
To help with the layout, I have printed out a template on my plotter and stuck it to the base but it probably isn't worth the bother. What would have helped more is making the base an inch bigger on all sides so that there is a margin between the board and the former.
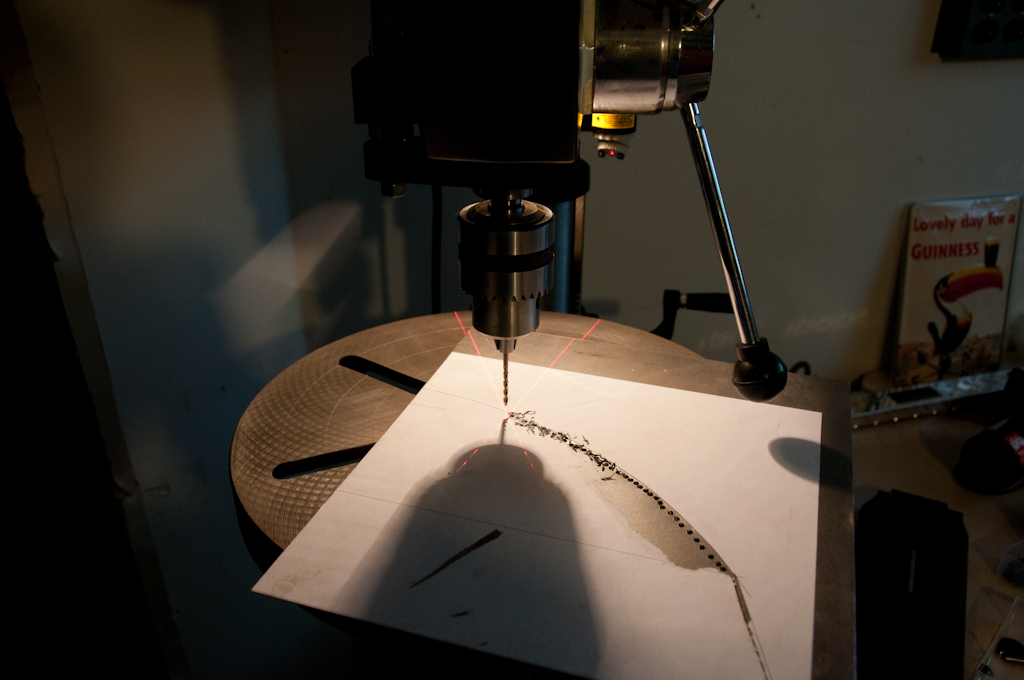
Cutting out the former
Now we make the former from a metal plate. Cutting this on the bandsaw would have been easier but I didn't have the right blade at the time and so it was the 'drill lot of holes' method. Again, I have glued a template made on the plotter to the work piece.
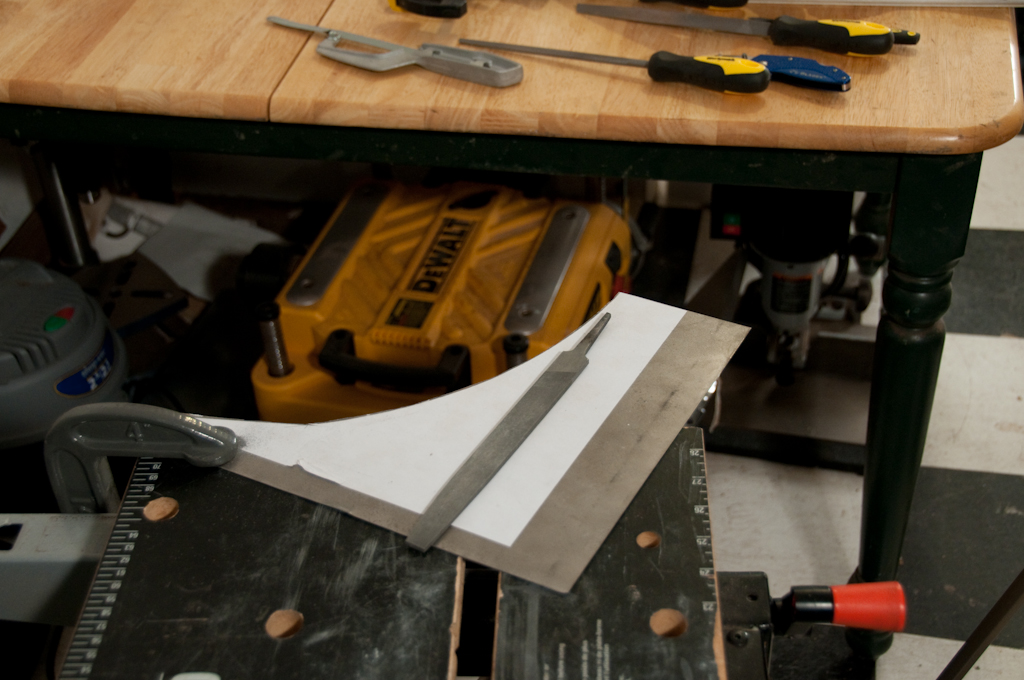
Fine Tuning the former
After finishing cutting, the former is cleaned up with a file.
Building up packing
Plaster is expensive, takes months to dry and has a high probability of cracking. So I pack the inside with cheap expanded polystyrene. High density foam would have been a better choice. The polystyrene had too much give.
I build up the polystyrene then cut it back with a knife using the form as a guide. I need at least 1.5 cm of plaster.

More Packing 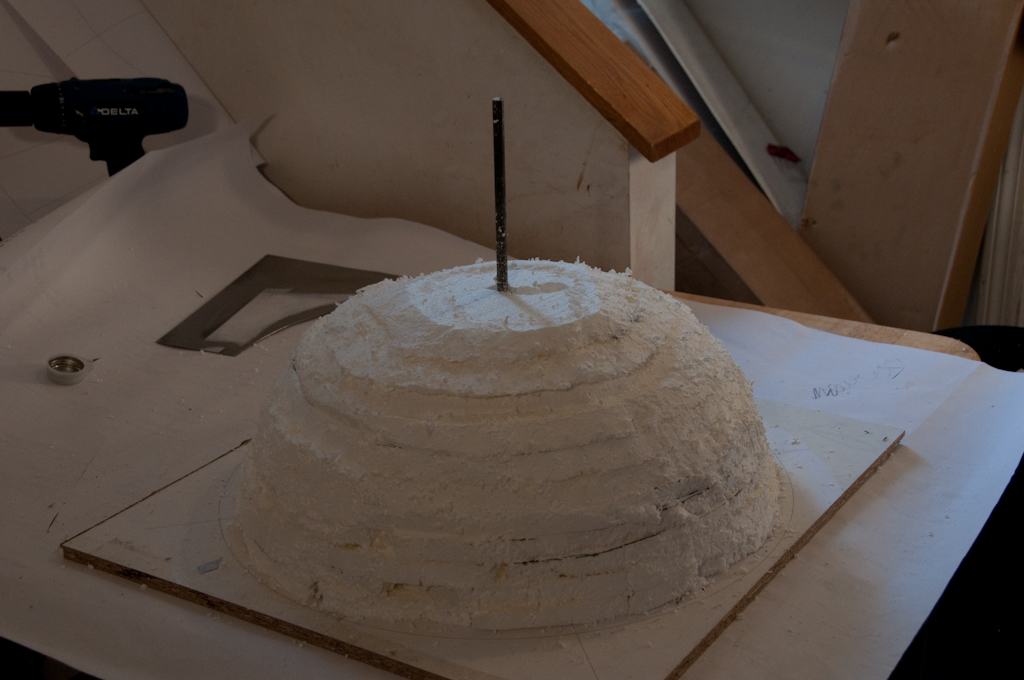
Adding Plaster Coats
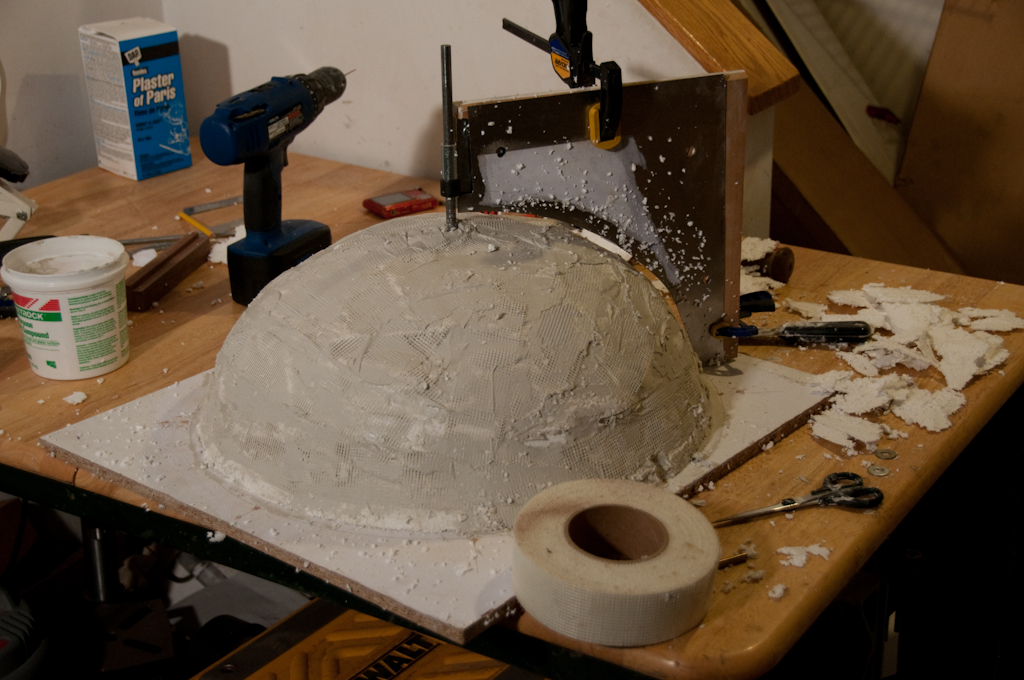
And now the first coat of plaster. Again I am using cheap materials to save cost. Plaster of pairs is expensive, wall plaster is cheap and works just as well under the bodyfiller to come later. Notice that there is about a centimeter gap between the plug surface and the former at this point.
To add a bit of stiffness and reduce cracking, I used the jointing tape seen in the photo between layers. I also build the plaster up in layers swirling the former and letting each one set before adding the next. This reduces the drying time.
Fans of Star Trek may be interested to note that the saucer section for the original Enterprise was fabricated in exactly the same way but with a much larger former as the saucer section of the 11' hero prop is over 6 foot across.
Removing the former rod
After building up layer by layer and swirling the former round on each one, we remove the former and rod, fill in the hole and here we have the finished dome plug!
Oh no we don't we are barely started. From this point on we have many layers of spray filler and sanding to get to a smooth, smooth finish.
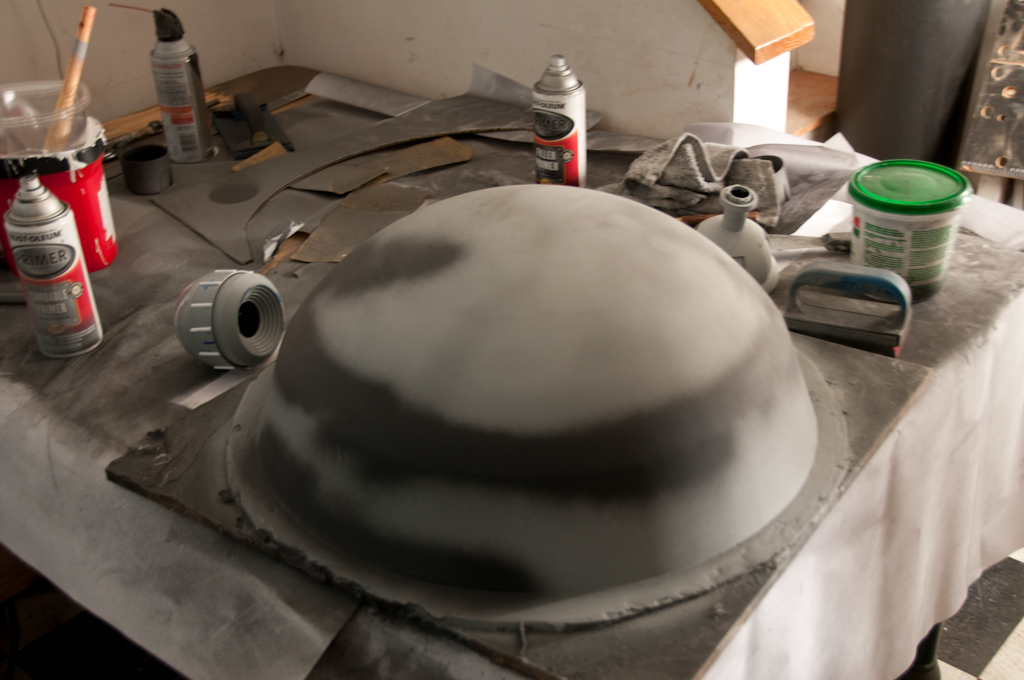
Filling and sealing
Spray filler done, the dome gets a coat of duratex. This was a mistake because it undid all the work I had one to get a perfect surface. In theory the duratex should have allowed the plug to demould perfectly but that didn't happen either.