Making the Neck Section
My neck differs from the BBC props in two ways. The rings are fiberglass rather than MDF and the dome is supported by the visible neck struts rather than a structure inside the dome.
The neck is tapered so each ring is a different size. The distance between the rings also changes subtly. On my neck, the top of each strut is notched to accept the lazy susan bearing for the dome.
The plugs for the neck rings are made from MDF using a router and circular jig. This was one of the easiest parts to make and the most unpleasant. MDF is abominable stuff to work with. The dust gets everywhere.
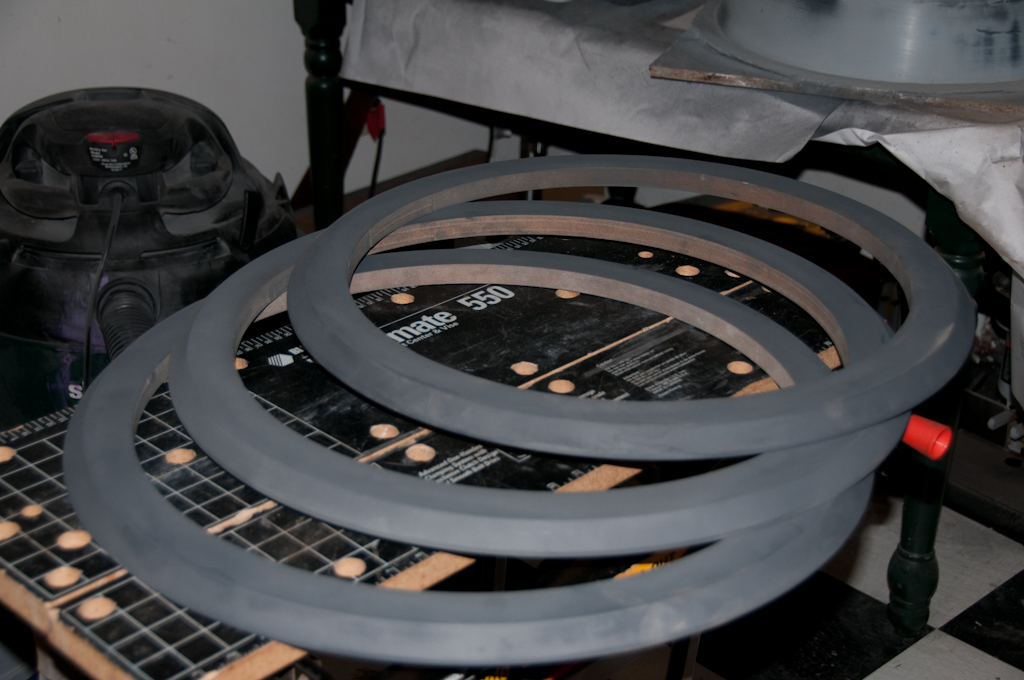
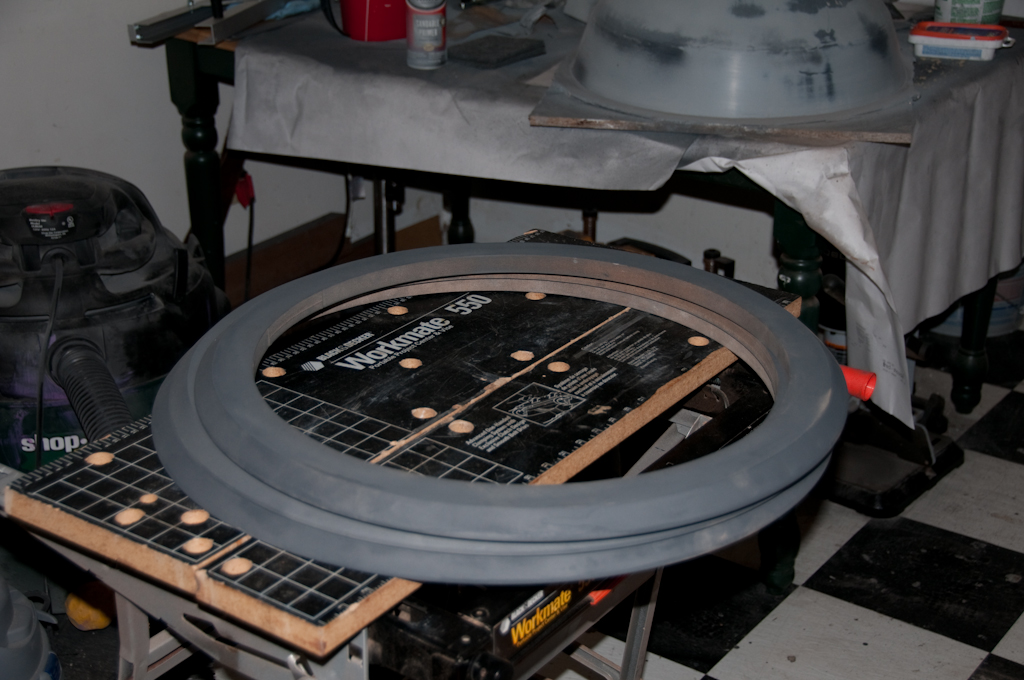
Plugs complete, time to make a mold.
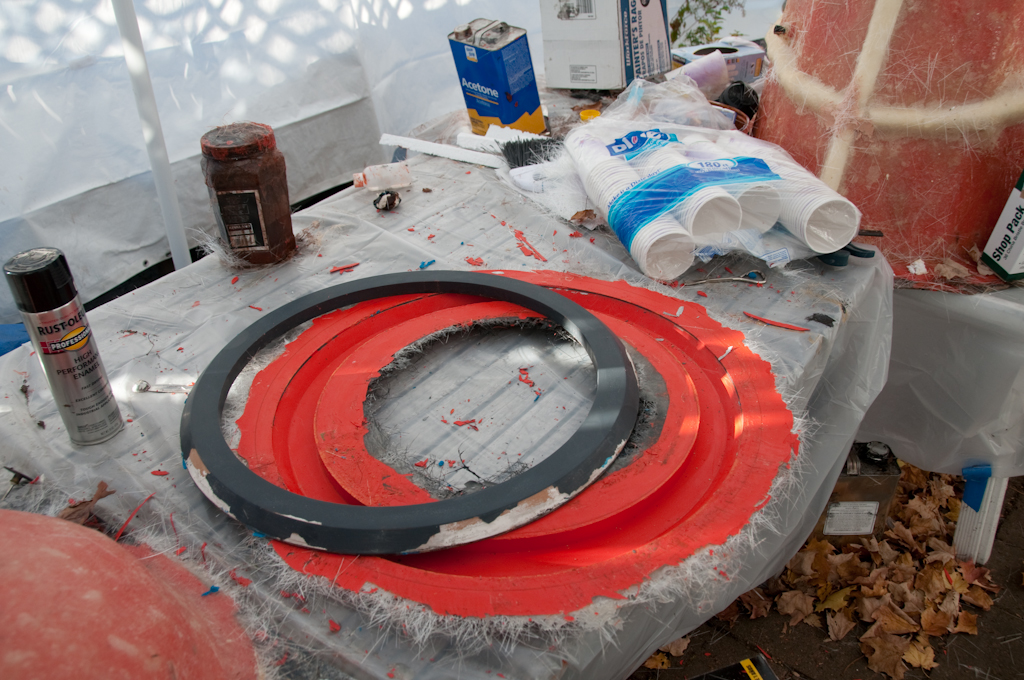
Three molds ready for use.
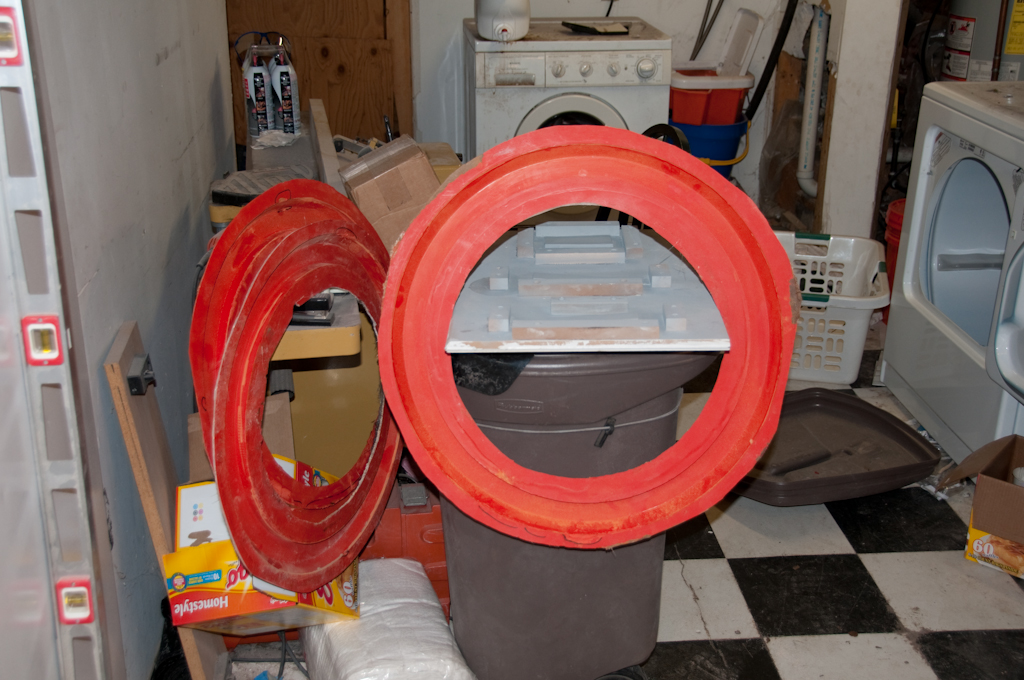
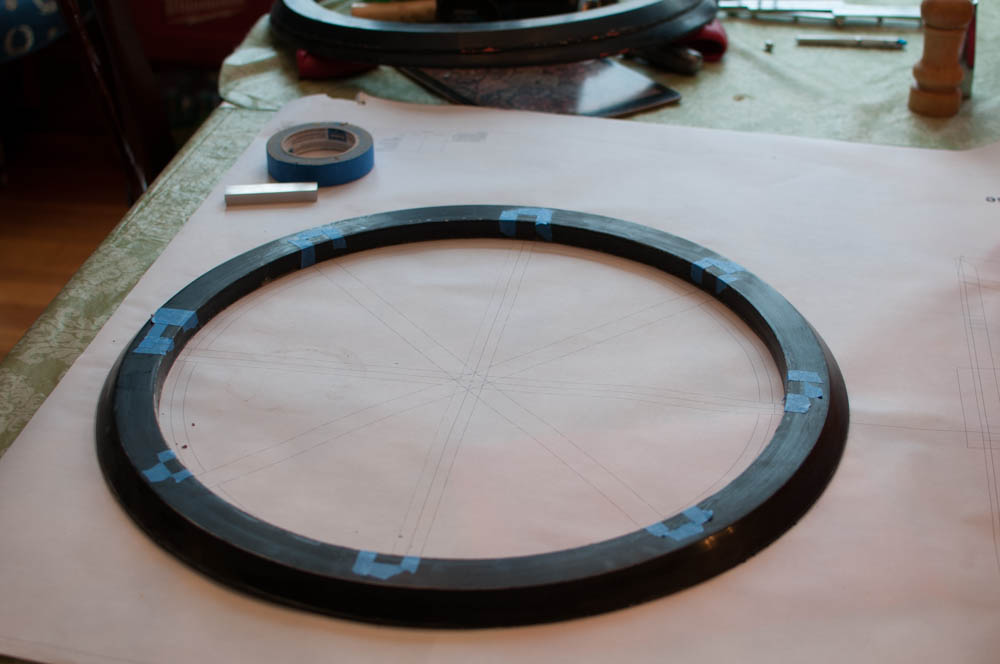
Having made the parts, the next step is to mark out positions on the rings to cut out the support struts. It would have been better to do this on the plug. Having cut notches on the rings and glued hardwood strips in place on the back to give me something to fasten it to the support struts.
The molds only have a top side. To make the bottom I first filled the inside with low expansion spray foam of the type sold to fix windows in place without warping them. Low expansion allowed me to avoid filling the ring completely, leaving a gap to be filled with a thin layer of epoxy and 'choppies' - short strands of glass fiber. A thin layer of gel coat with hollow spheres and wax added to allow it to set completes the surface.
Final step is to fix the neck struts. This was a fiddly job so I made an adjustable jig using some building blocks and a strip of wood with adjustable leveling feet added. The neck struts are solid aluminium cut to size using the band saw, marked and drilled with holes for the screws.
After making sure the table is dead level, I fitted three of the struts to the first ring and placed it on the table, I then inserted the second ring, raised it to the right height using the jig and drilled holes for each screw then repeated the process for the final ring. Once three of the struts were in place, the other five are 'persuaded' into place. As you can guess, this process involved quit a bit of tweaking cuts in the neck rings to get the right fit.
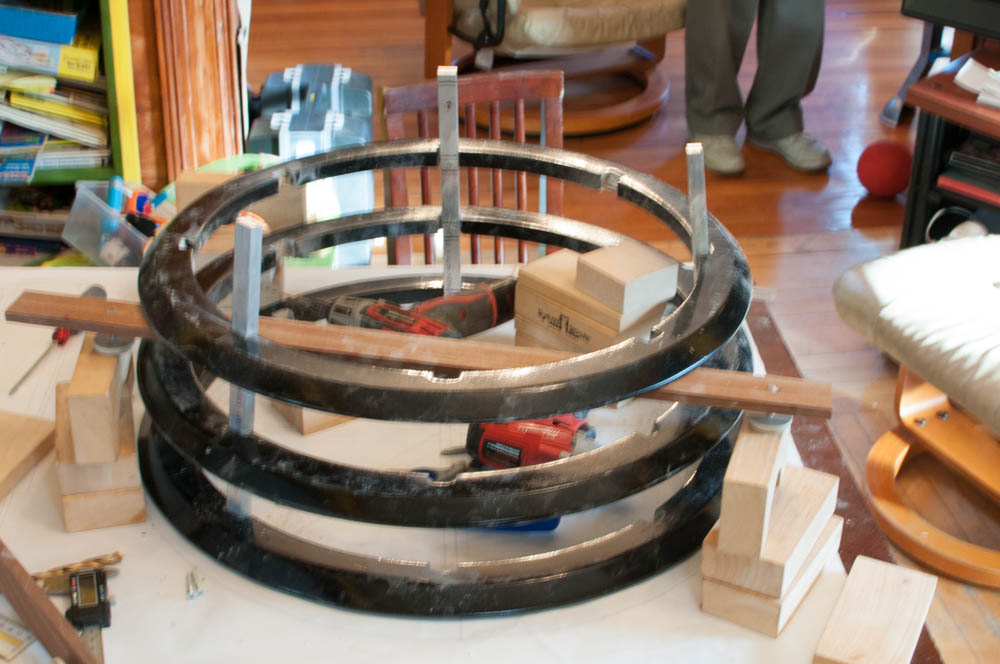
If you look at the photograph carefully you will see that the struts are not notched yet. Not trusting my CAD skills or fabrication skills to be perfect, I assembled the neck, put the dome bearing in place and marked the cut to be made in each strut. To make the cuts, I removed the struts two at a time from opposite sides of the neck bin, made the cuts on the bandsaw and refined the cut and replaced them before starting on the next. This avoided the hassle of having to repeat the assembly process and also minimized the risk of putting struts back in different places.