XCarve and Sherline CNC
Project goal
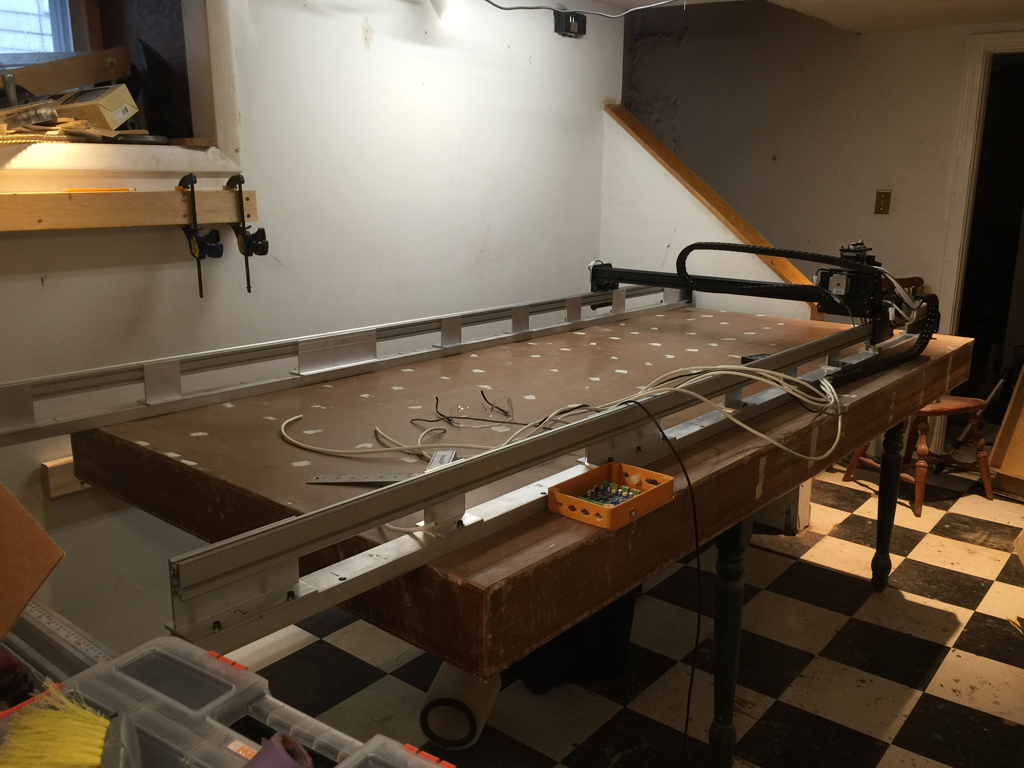
Build a CNC capable of cutting plywood sheets 'large enough to build furniture'. By this I mean large enough to be able to cut well over half a sheet of 8x4 ply, that is a nominal area of 30"x 80" or so.
The reason I chose this size rather than a full sheet of ply is that a survey of the furniture in the house revealed that while it is often useful to have a piece that is a little bit wider than half a sheet, none requires more. The very widest I plan to use is 30.5 inches for Han in Carbonite.
More length is always useful. For the bedroom bookcase, I plan to have carved elements from floor to ceiling. While that is nominally 12', I am pretty sure I can fake it with three sections whit the middle one being the longest at 7'.
Current status
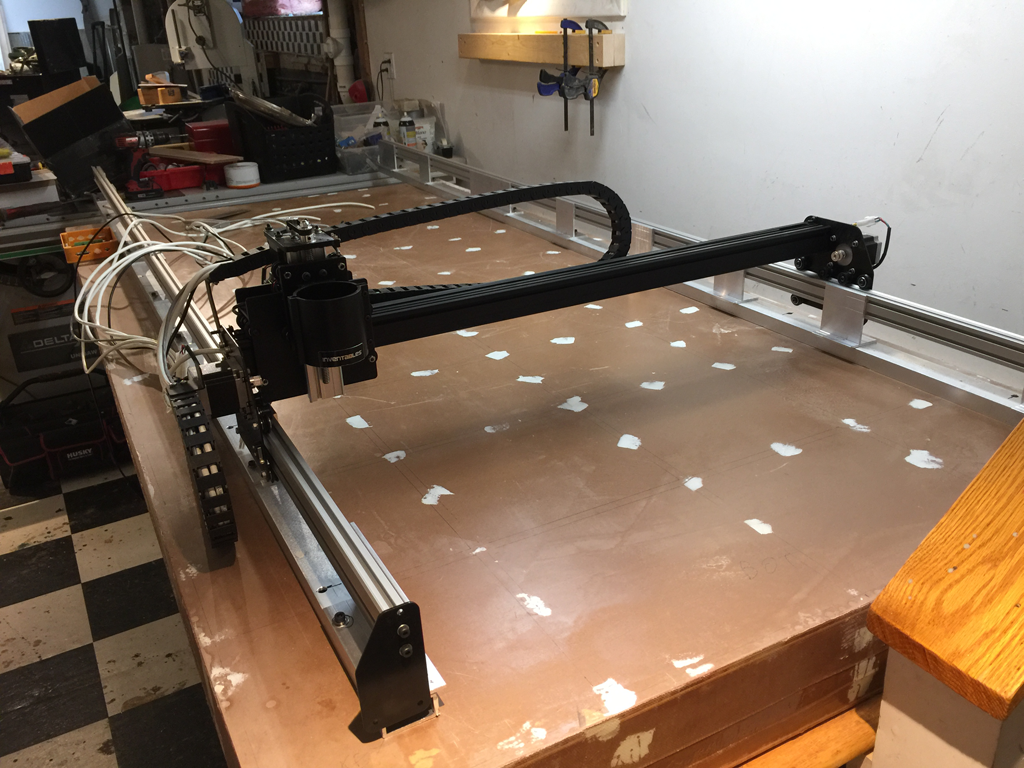
The CNC is currently assembled and almost running. After much struggling, I finally decided to abandon the effort I had put into getting the TinyG controller and instead use the Inventables XController. The current state of play being that this has arrived and assembled but not yet tested or installed.
The build quality on the XController is certainly impressive and it looks like it will be a much better choice in the long run. I am fairly sure that I can use the same controller with my Sherline CNC tools which would be ideal of course.
Build
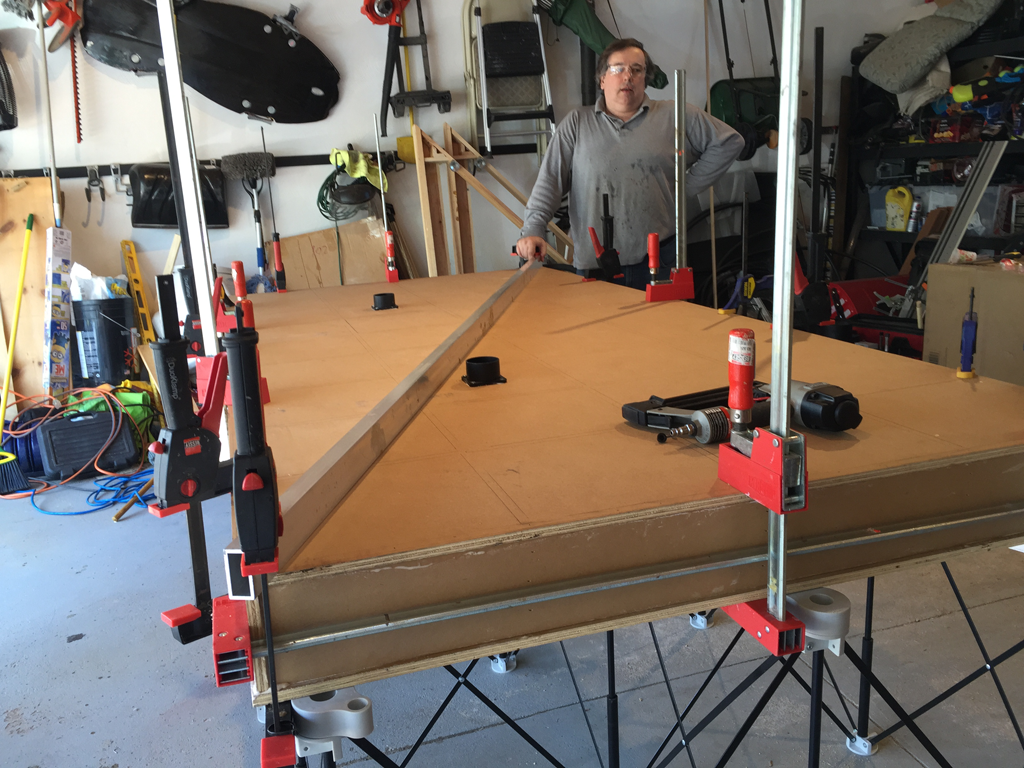
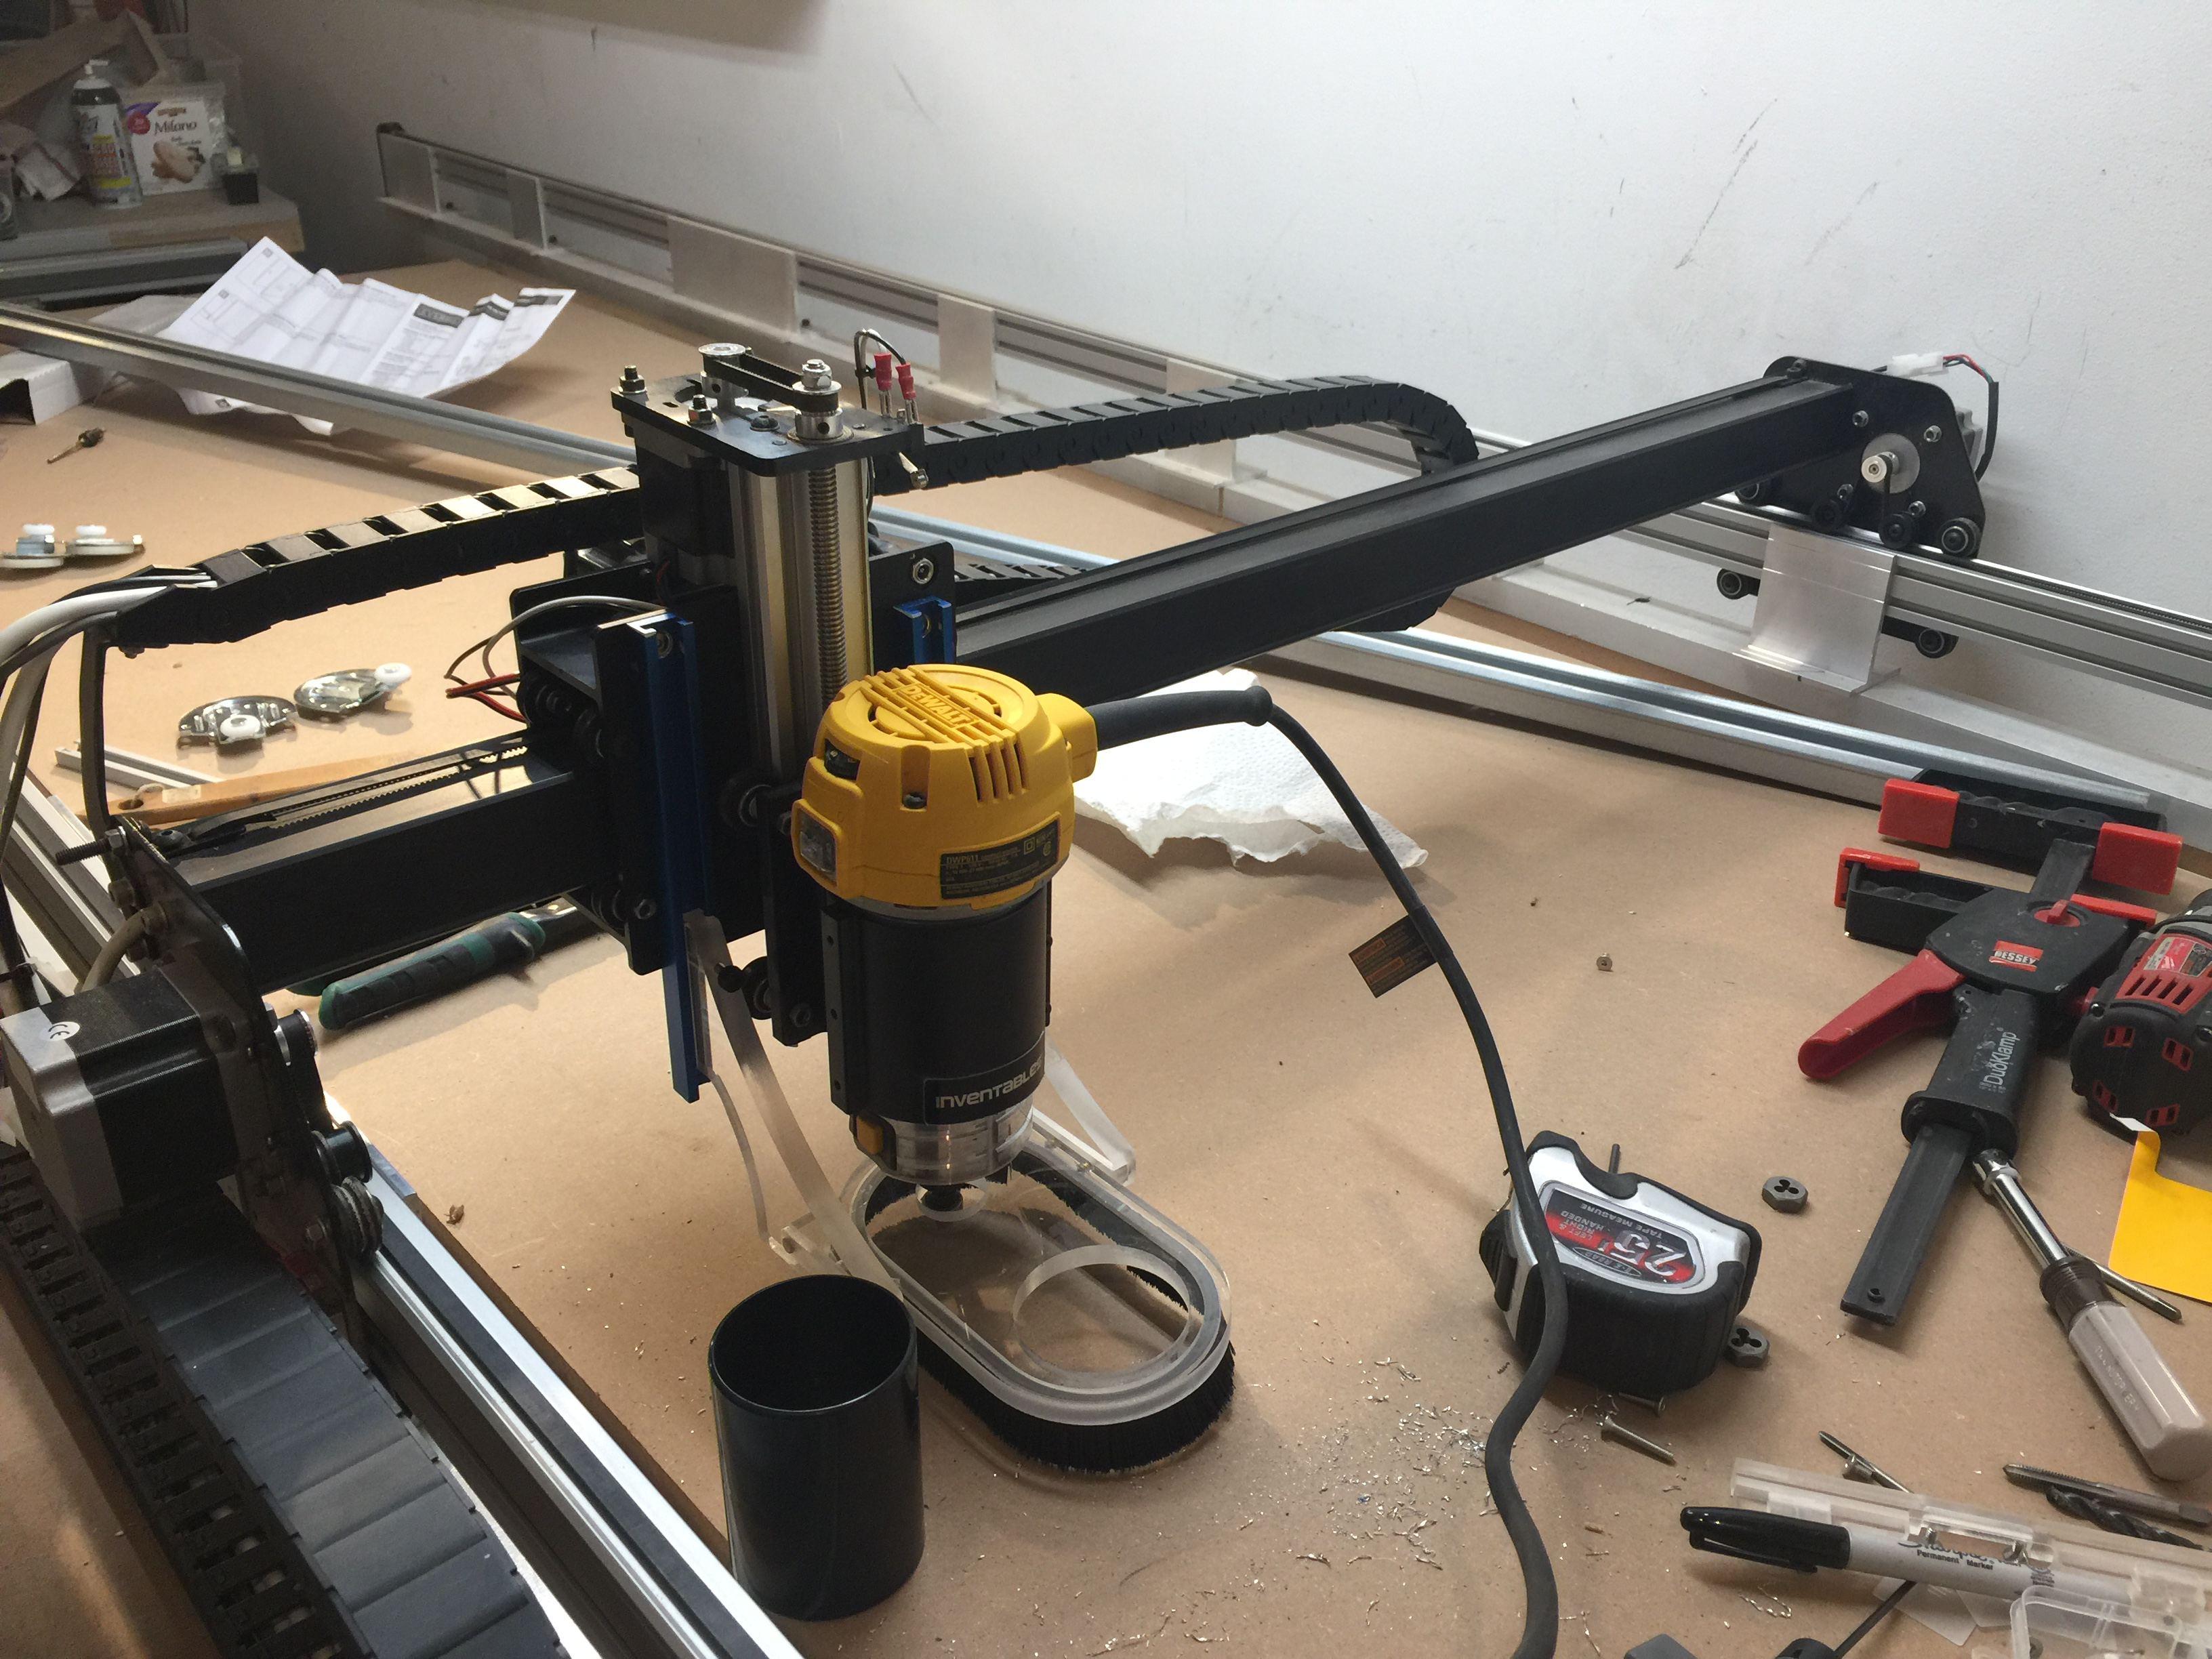
The main change in my build over a standard XCarve is that the Y axis has been lengthened to almost 9 foot and is supported by two aluminium box beams with risers that are designed to fit the makerslide every 12 inches. These make the axis very stiff and gives me a couple of inches extra clearance if I need it. In practice, that extra headroom is less useful than it might seem because even if the X-Y carriage clears the piece, the spindle and bit are still constraints and the bit is rarely going to be longer than an inch.